
A fall boat propeller inspection gives you a chance to spot damage while the season is still fresh in your mind. Perhaps the boat vibrated after crossing a shallow area, acceleration changed on the last trip, or a blade picked up a small nick. Recording those observations now makes a service visit more useful than trying to reconstruct the problem next spring.
This guide focuses on planning and documenting an inspection of a conventional outboard or sterndrive propeller. It is not a universal removal procedure. Dual-propeller drives, different hub systems, and inboard shaft installations have their own hardware and service requirements. Use the owner’s or service manual for your exact engine, drive, and propeller assembly before loosening anything.
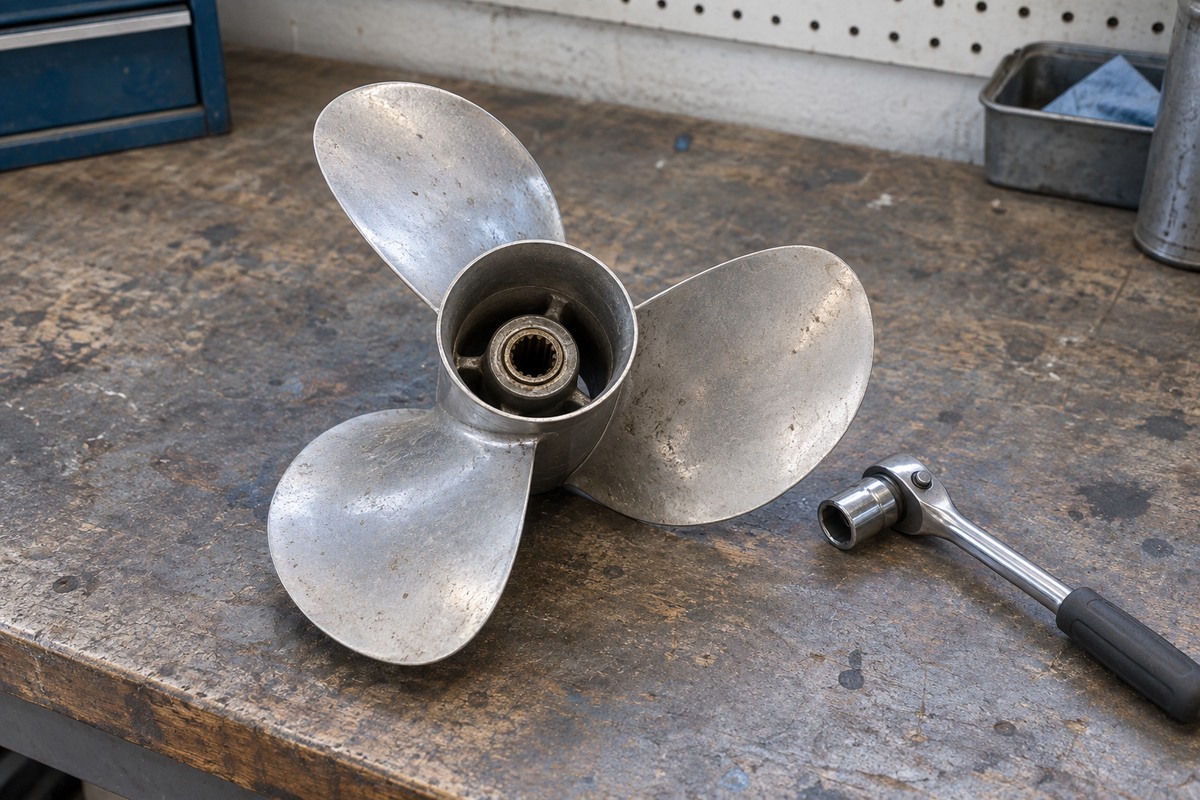
Start with the right propeller information
Before cleaning the assembly, photograph its identifying marks and write down what you can read. Useful details include the part number, diameter and pitch when marked, material, rotation, and hub-kit identification. If there are two propellers, identify each separately. A description such as “stainless prop” will not be enough when a shop asks which assembly you have.
Next, find the relevant manual section and check what the job requires. Make a short list of the specified tools, replacement retaining hardware, approved lubricant, installation sequence, and torque procedure. Leave uncertain values blank until you confirm them. A torque value from a similar-looking engine is not a verified specification for yours.
Set up a safe inspection
The engine must be off and protected against accidental starting before anyone works around the propeller. Follow the manufacturer’s isolation instructions, remove the ignition key, and keep controls out of reach. Secure the boat and follow the prescribed support procedure for a raised drive or outboard. Never depend on someone remembering not to touch a switch.
Arrange good lighting and a clear place for any removed parts. If you are not equipped to remove and reinstall the propeller correctly, an external inspection and a service appointment are still worthwhile. You do not need to turn a useful inspection into an unfamiliar repair.
Inspect each blade and record what you find
Look at every blade, including the leading edge, trailing edge, tip, and the area where it joins the hub. Photograph nicks, cracks, bent edges, missing material, or areas that look different from the other blades. Avoid running bare fingers along potentially sharp edges.
Describe the observation rather than guessing at the repair. For example, “nick on one leading edge, noticed after the September 12 trip” is more useful than “prop probably needs balancing.” Include any vibration, impact, or change in performance that accompanied the damage. A propeller shop or marine technician can assess repairability and whether further checks are needed. Do not hammer a blade back into shape or remove material as an improvised correction.
Check behind the propeller for fishing line
An apparently clean propeller does not rule out line wound around the shaft behind it. Mercury Marine warns that trapped fishing line can damage the seals protecting gearcase oil. Its manufacturer tutorial specifically addresses removing line from an outboard propeller shaft.
If removal is appropriate for your model and skill level, follow the manual, preserving the order and orientation of the hardware. Inspect the accessible shaft area without digging into seals with sharp tools. Line that is embedded near a seal, evidence of leakage, or a damaged component deserves professional attention. Removing visible line does not establish that the seal underneath is undamaged.
Reinstall only with verified instructions
Use the correct hub components and the exact installation sequence for your assembly. Apply lubricant only where specified, use the prescribed retaining hardware, and follow the stated torque and locking procedure. If a part cannot be identified or a step cannot be confirmed, leave the job for a qualified technician rather than improvising.
Record whether the propeller is installed and ready for service, removed for repair, or awaiting parts. A clear status note prevents a partly completed job from being mistaken for finished maintenance during spring commissioning.
Keep propeller maintenance useful in BoatDuty
Add the inspection date, engine hours, propeller identification, observed damage, and relevant trip notes to your BoatDuty maintenance record. Include the manual reference, confirmed specifications, lubricant and parts actually used, and the shop’s findings if the propeller is serviced. Keep repair recommendations separate from work already completed.
Before closing the job, confirm:
- Each blade and the visible hub were inspected.
- Any impact, vibration, or performance change was documented.
- Fishing-line inspection was completed or assigned for service.
- Removed hardware was identified and correctly reinstalled, if applicable.
- Required repairs and final installation status were recorded.
The value of this fall check is a clear account of what you found and what still needs attention. That gives you time to arrange service and return to the water with fewer unanswered questions.